
Omnidirectional stereo (ODS) is a projection model for stereo 360 degree videos
It’s designed for VR viewing with a headmounted display (HMD).
More information here.
I developed and tested for fun an approach for raytracing, open-source POV-Ray software.
How to render
Currently (2016-03-11), render ODS image require an alpha version of POV-Ray, that support user_defined camera. Download from here
Or use my POV-Ray fork. More information on this below.
With POV-Ray official (Alpha),
Use the following code for an ODS top-bottom (left eye on top, right eye on bottom):
// ODS Top/Bottom - Docs: https://www.clodo.it/blog/?p=80
#declare odsIPD = 0.065; // Interpupillary distance
#declare odsVerticalModulation = 0.2; // Use 0.0001 if you don't care about Zenith & Nadir zones.
#declare odsLocationX = 0;
#declare odsLocationY = 0;
#declare odsLocationZ = 0;
#declare odsHandedness = -1; // "-1" for left-handed or "1" for right-handed
#declare odsAngle = 0; // Rotation, clockwise, in degree.

camera {
  user_defined
  location {
    function { odsLocationX + cos(((x+0.5+odsAngle/360)) * 2 * pi - pi)*(odsIPD/2*pow(abs(sin(select(y, 1-2*(y+0.5), 1-2*y)*pi)), odsVerticalModulation))*select(-y,-1,+1) }
    function { odsLocationY }
    function { odsLocationZ + sin(((x+0.5+odsAngle/360)) * 2 * pi - pi)*(odsIPD/2*pow(abs(sin(select(y, 1-2*(y+0.5), 1-2*y)*pi)), odsVerticalModulation))*select(-y,-1,+1) * odsHandedness }
  }
  direction {
    function { sin(((x+0.5+odsAngle/360)) * 2 * pi - pi) * cos(pi / 2 -select(y, 1-2*(y+0.5), 1-2*y) * pi) }
    function { sin(pi / 2 - select(y, 1-2*(y+0.5), 1-2*y) * pi) }
    function { -cos(((x+0.5+odsAngle/360)) * 2 * pi - pi) * cos(pi / 2 -select(y, 1-2*(y+0.5), 1-2*y) * pi) * odsHandedness }
  }
}
Use the following code for an ODS side-by-side:
// ODS Side-by-Side - Docs: https://www.clodo.it/blog/?p=80
#declare odsIPD = 0.065; // Interpupillary distance
#declare odsVerticalModulation = 0.2; // Use 0.0001 if you don't care about Zenith & Nadir zones.
#declare odsLocationX = 0;
#declare odsLocationY = 0;
#declare odsLocationZ = 0;
#declare odsHandedness = -1; // "-1" for left-handed or "1" for right-handed
#declare odsAngle = 0; // Rotation, clockwise, in degree.

camera {
  user_defined
  location {
    function {  odsLocationX + cos(((select(x,2*(x+0.5),2*x)+odsAngle/360)) * 2 * pi - pi)*(odsIPD/2*pow(abs(sin((1-(y+0.5))*pi)), odsVerticalModulation))*select(x,-1,1) }
    function {  odsLocationY }
    function {  odsLocationZ + sin(((select(x,2*(x+0.5),2*x)+odsAngle/360)) * 2 * pi - pi)*(odsIPD/2*pow(abs(sin((1-(y+0.5))*pi)), odsVerticalModulation))*select(x,-1,1) * odsHandedness }
  }
  direction {
    function {  sin(((select(x,2*(x+0.5),2*x)+odsAngle/360)) * 2 * pi - pi) * cos(pi / 2 -(1-(y+0.5)) * pi) }
    function {  sin(pi / 2 - (1-(y+0.5)) * pi) }
    function {  -cos(((select(x,2*(x+0.5),2*x)+odsAngle/360)) * 2 * pi - pi) * cos(pi / 2 -(1-(y+0.5)) * pi) * odsHandedness }
  }
}
Use the following code for single eye rendering:
// ODS Single Eye - Docs: https://www.clodo.it/blog/?p=80
#declare odsIPD = 0.065; // Interpupillary distance
#declare odsVerticalModulation = 0.2; // Use 0.0001 if you don't care about Zenith & Nadir zones.
#declare odsLocationX = 0;
#declare odsLocationY = 0;
#declare odsLocationZ = 0;
#declare odsHandedness = -1; // "-1" for left-handed or "1" for right-handed
#declare odsAngle = 0; // Rotation, clockwise, in degree.
#declare odsEye = -1; // -1 for Left eye, +1 for Right eye

camera {
  user_defined
  location {
    function {  odsLocationX + cos(((x+0.5+odsAngle/360)) * 2 * pi - pi)*(odsIPD/2*pow(abs(sin((1-(y+0.5))*pi)), odsVerticalModulation))*odsEye }
    function {  odsLocationY }
    function {  odsLocationZ + sin(((x+0.5+odsAngle/360)) * 2 * pi - pi)*(odsIPD/2*pow(abs(sin((1-(y+0.5))*pi)), odsVerticalModulation))*odsEye * odsHandedness }
  }
  direction {
    function {  sin(((x+0.5+odsAngle/360)) * 2 * pi - pi) * cos(pi / 2 -(1-(y+0.5)) * pi) }
    function {  sin(pi / 2 - (1-(y+0.5)) * pi) }
    function {  -cos(((x+0.5+odsAngle/360)) * 2 * pi - pi) * cos(pi / 2 -(1-(y+0.5)) * pi) * odsHandedness }
  }
}
Caveats
- Camera Direction is actually not supported. It’s always look_at<0,0,1>. You can use the odsAngle parameter for a rotation (degree) around Y axis.
- Zenith & Nadir Zones
Base ODS algorithm have spiral/singularities towards the zenith and nadir points.To avoid that, i modulate the stereoscopic eye separation such that it begins at normal eye separation near the horizon, and is smoothly decreased, reaching zero by the time either the zenith or nadir points on the polar axis are visible to the user, producing a monoscopic image.I use this formula:
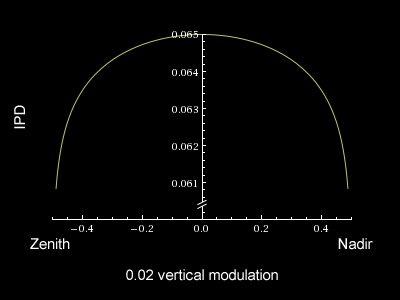
where 0.02 it’s the odsVerticalModulation and 0.065 the default IPD. Play with this value to understand how IPD are reduced near the Zenith (x:-0.5) and Nadir (x:0.5).
In general, it’s recommended to avoid objects at zenith & nadir points, and use a odsVerticalModulation near 0 (0.0001), to obtain a perfect IPD / 3d effect.
If you have objects at zenith & nadir points, use a odsVerticalModulation near 1 can be a good compromise.Other approach:
Domemaster3D (Shader for 3DS Max, Mata, Softimage etc) recommend a texture to reduce the effect. linkSolidAngle/Arnold use mixed approach. link
Another kind of modulation: link
Best practice
- Objects should remain at least 60cm from the camera (relative to an IPD of 6.5cm).
Use this POV-Ray code to check (it’s auto adapt based on IPD):sphere { <odsLocationX,odsLocationY,odsLocationZ>, 0.6*odsIPD/0.065 pigment { color <1,0,0> filter 0.97 } hollow } - Objects appearing directly above or below the camera should remain at least 3.5m from the camera (relative to an IPD of 6.5cm).
- Antialiasing is very very very important on VR headset.
Recommended Resolutions
I recommend, at least for the current (year 2016) generation of VR headset (GearVR, Oculus Rift, HTC Vive), at least 6480 x 6480 pixels in top/bottom for static images. For videos, see below.
Resolution must have 2:1 aspect ratio (standard equirectangular), that become 4:1 for side-by-side or 1:1 for a top-bottom.
TL;DR;
It’s difficult to estimate a good resolution.
VR headset do a distortion for lenses, any every VR headset can have different lenses, different FOV, different panel resolution etc.
The GearVR for example has a 90° FOV on a 2560×1440 panel, but the center pixel covers 0.06° after distortion. This value is sometime called “pixel coverage” or “pixel density” or “pixel per display pixel” or “eye buffer scaling”. So, for the GearVR, 0.06° pixels means we need 360/0.06 = 6000 pixels to cover one monoscopic turn.
Rendering Animation/Video
This is actually problematic.
In theory, the resolution must be at least as explained above for images.
Any VR headset require a high frame-rate to avoid nausea.
- Oculus Rift DK2 (Development Kit 2): 75 FPS
- Oculus Rift CV1 (Customers Version 1): 90 FPS
- HTC Vive: 90 FPS
- Sony Playstation PSVR : 120 FPS
In general, future-generation VR headset: expected 120 FPS
But H264 don’t have any level profile compatible with this kind of resolution.
Also HEVC/H265 have the same problem.
But we also need a coded that is hardware-accelerated to obtain the high FPS requested, and generally only H264/H265 are optimized for this.
VR Players
Virtual Desktop – There isn’t any option about side-by-side vs top-bottom, it simply detect it from the aspect ratio: 4:1 for side-by-side, 1:1 for top/bottom.
Both player can’t reproduce H265 high resolution videos.
My POV-Ray fork on GIT-Hub
With a POV-Ray builded from my fork, you can simply use a spherical camera:
camera
{
  spherical
  //ipd 0.065
  ods 4
  //ods_angle 0
  //ods_modulation 0.2
  //ods_handedness 1
  location <0,0,0>
}
- ods: 0 for monoscopic image, 1 for left eye only, 2 for right eye only, 3 for side-by-side, 4 for top/bottom. 0 is default. 4 recommended.
- Other parameters ipd, ods_angle, ods_modulation and ods_handedness are the same of the user_defined approach param described above.
Interesting Links
- POV-Ray newsgroup, topic about the approach
- POV-Ray newsgroup, topic about contents
- Oculus Forum Topic
- Renderman/Pixar approach
- Bernie Roehl POV-Ray approach
- Blender approach
- Scott Singer approach
Kudos
Many, many thanks to:
Christoph Lipka, William F Pokorny, Jaime Vives Piqueres from POV-Ray newsgroup.
Joan from Oculus Forum.
Jakob Flierl (checkout is GIT-Hub repo about ODS).
Examples of rendering
Some example of rendering (6480 x 6480 pixels, Top-Bottom).
——————
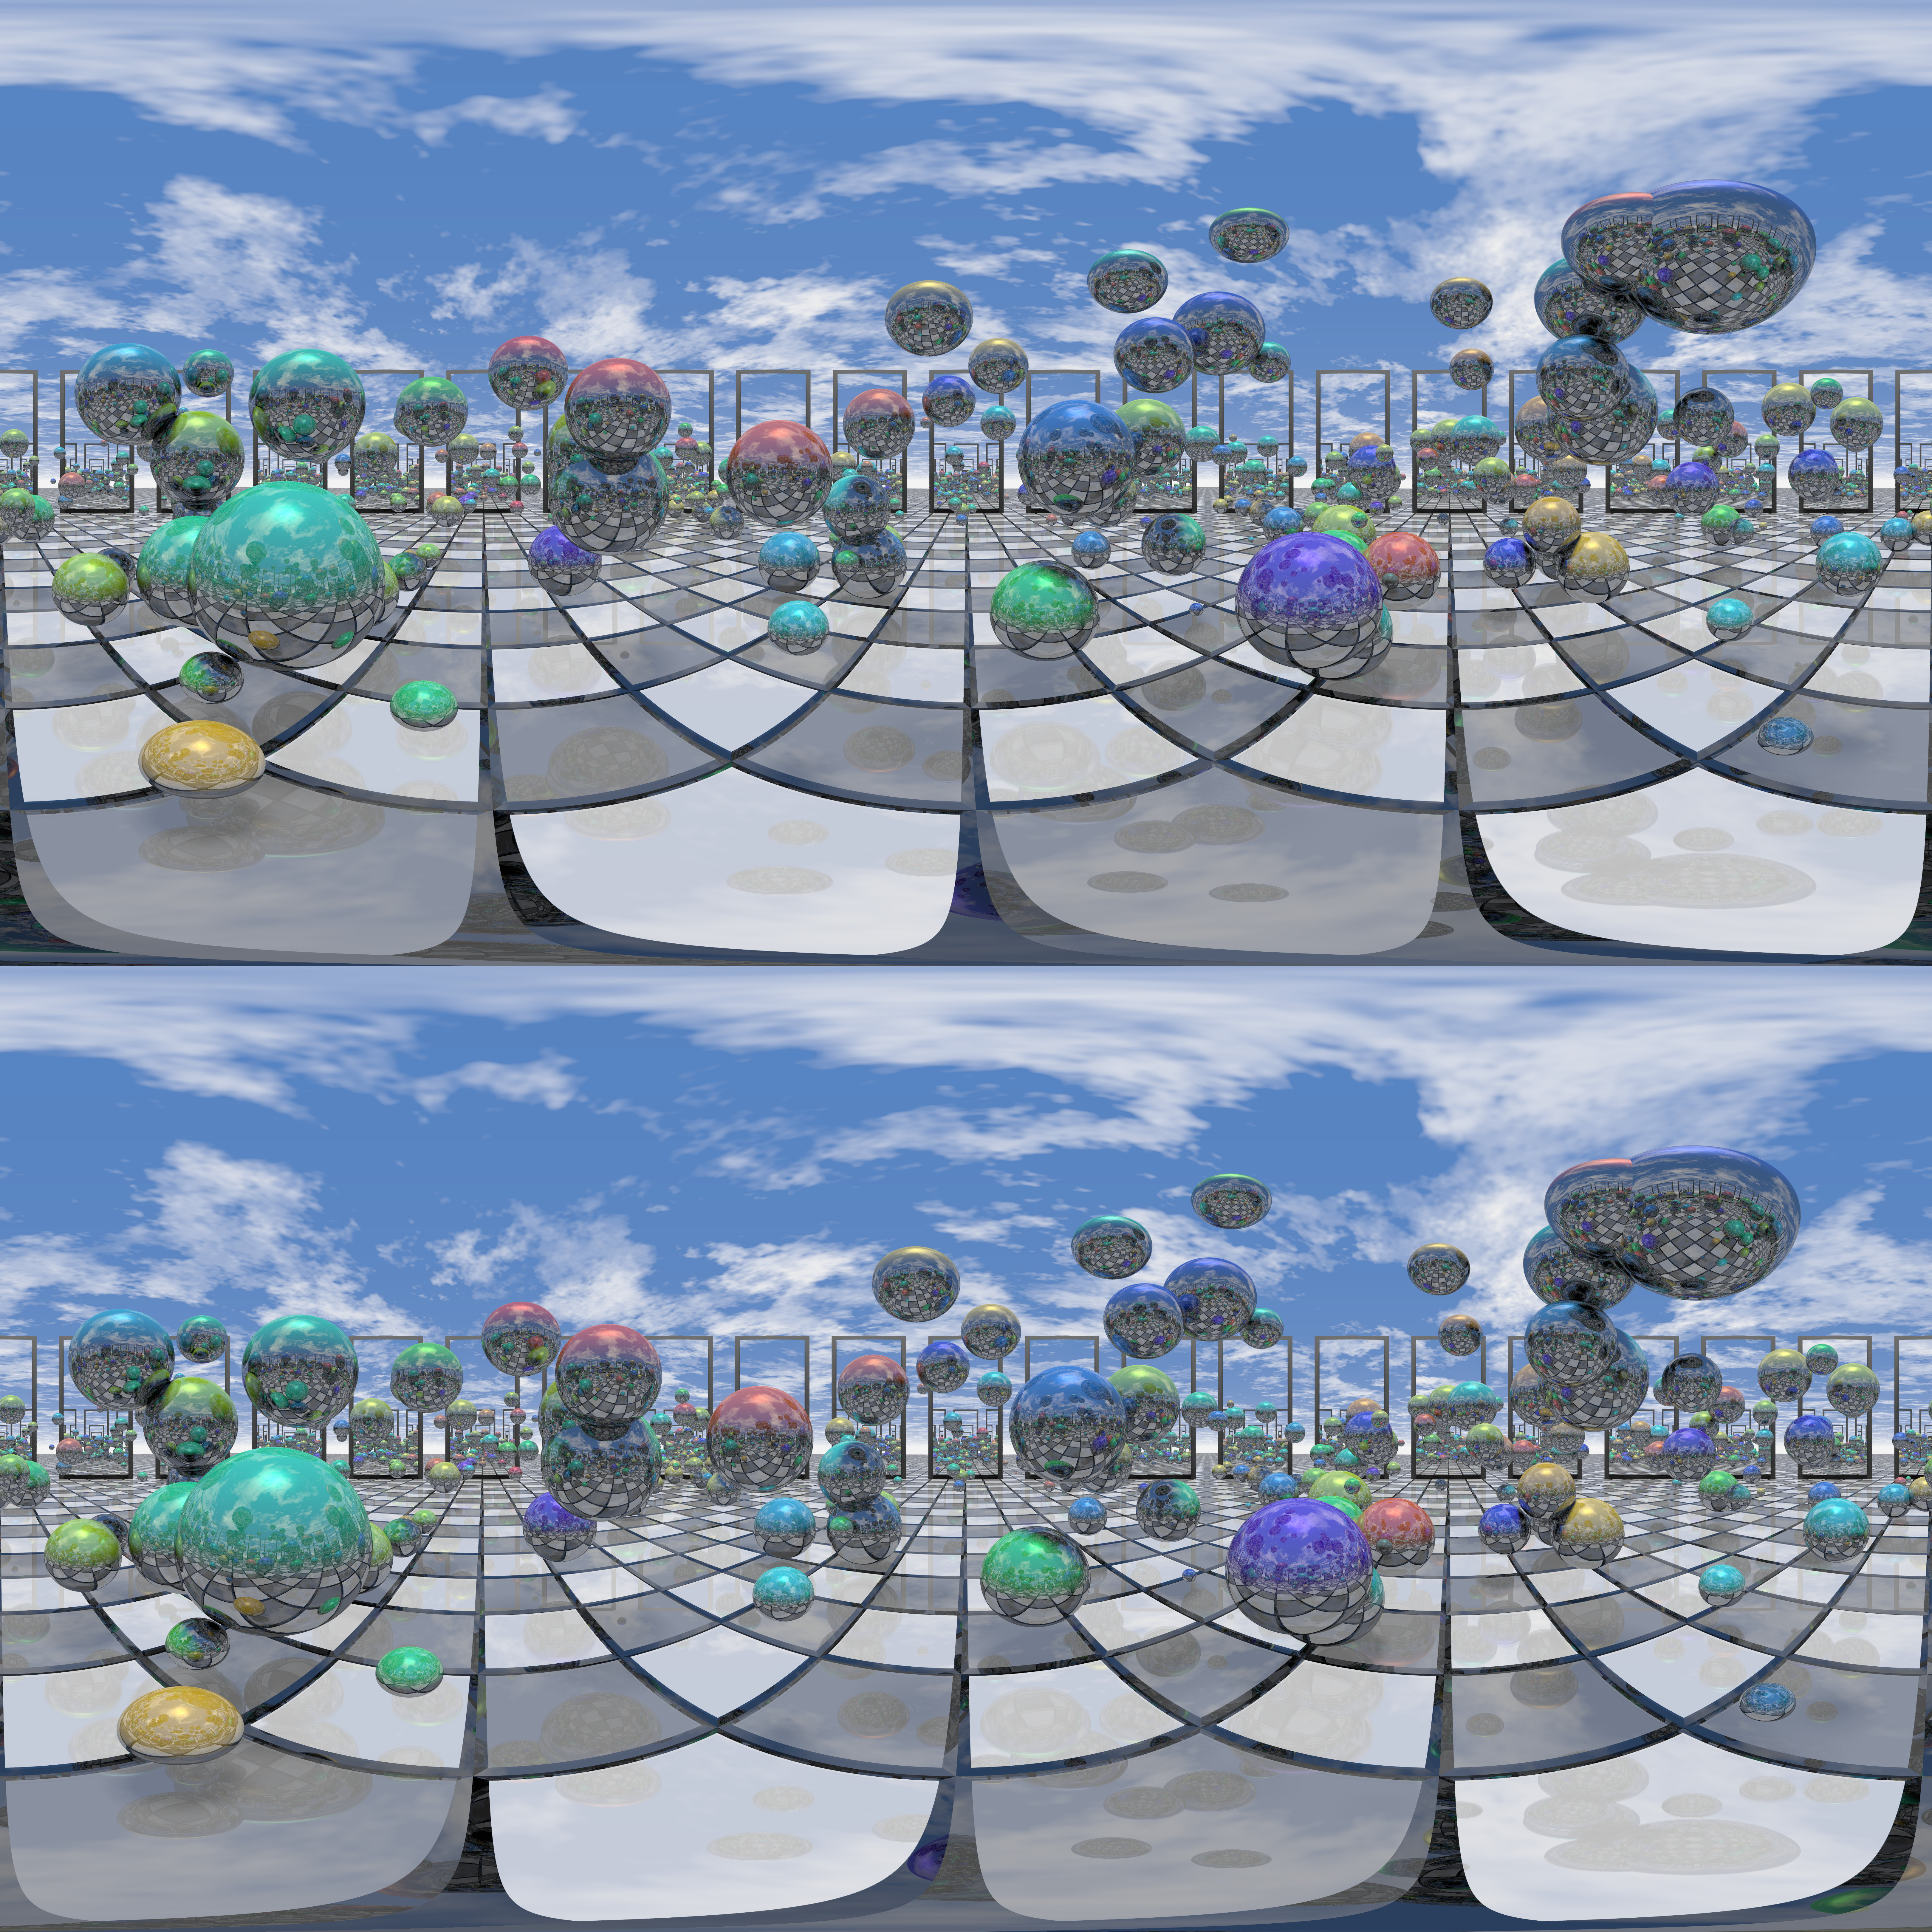
Stacker Day – POV-Ray sample scene adapted for ODS

——————
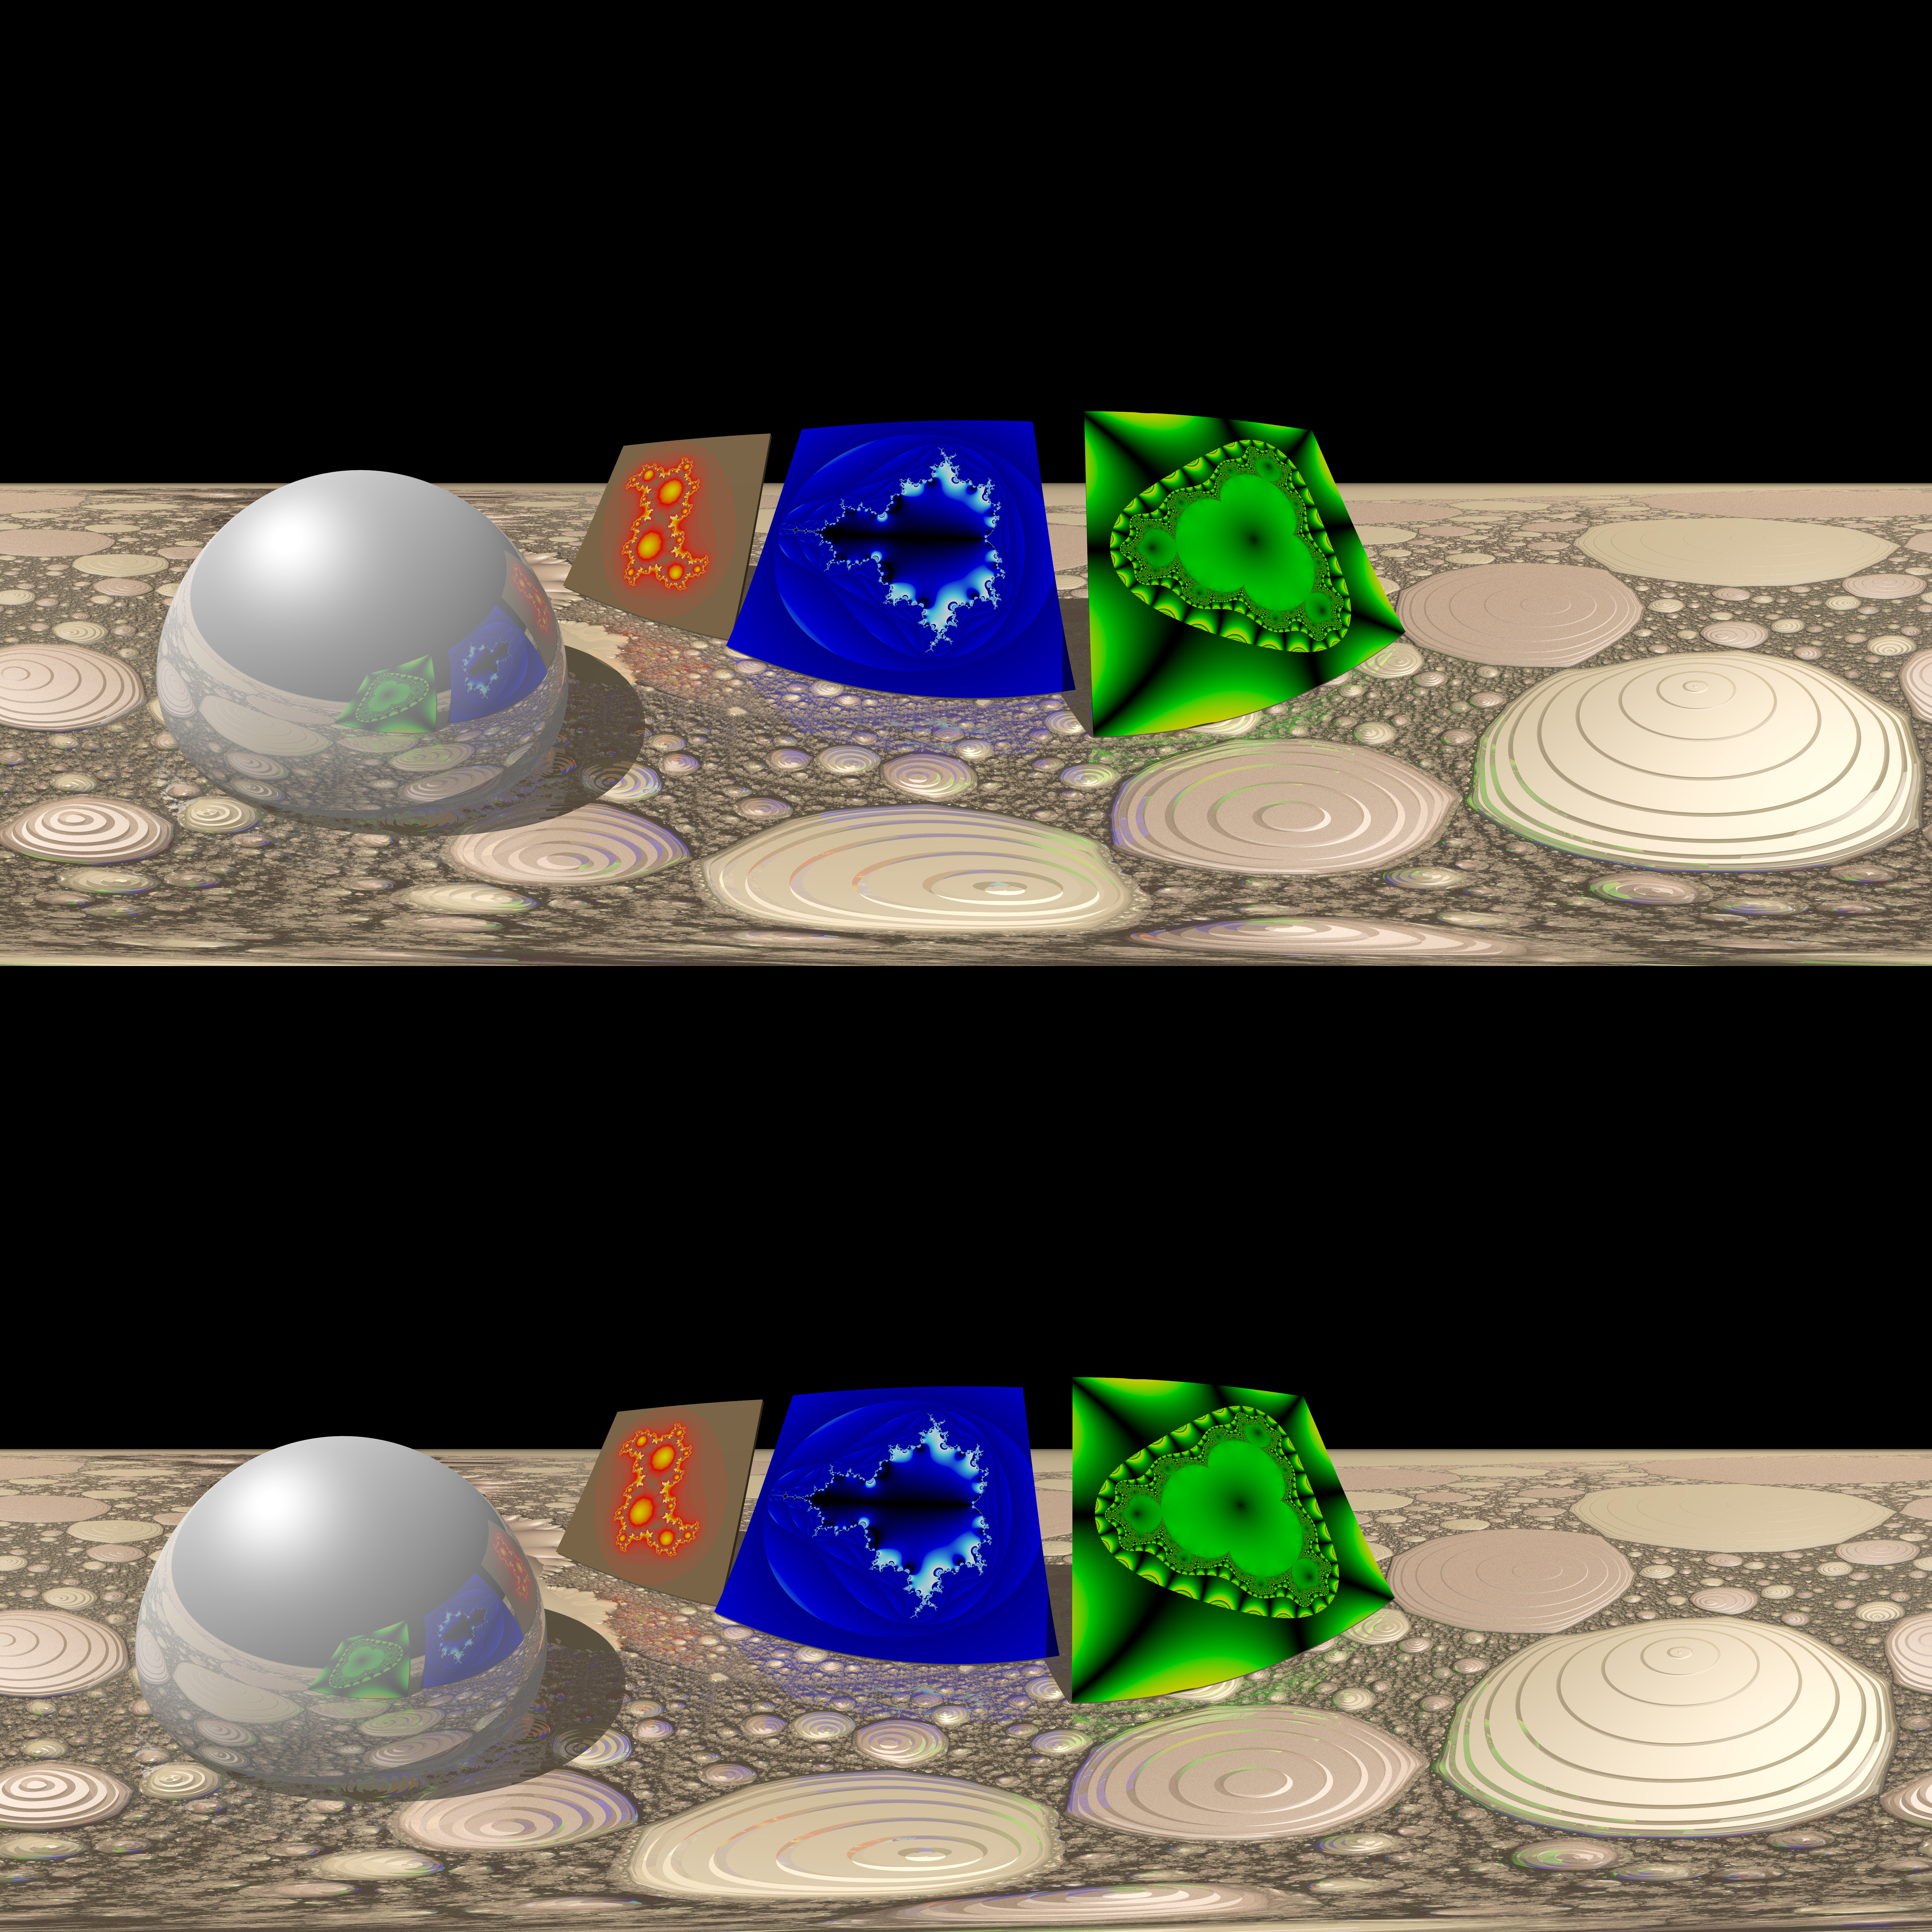
Fractals 1 – POV-Ray sample scene adapted for ODS
——————
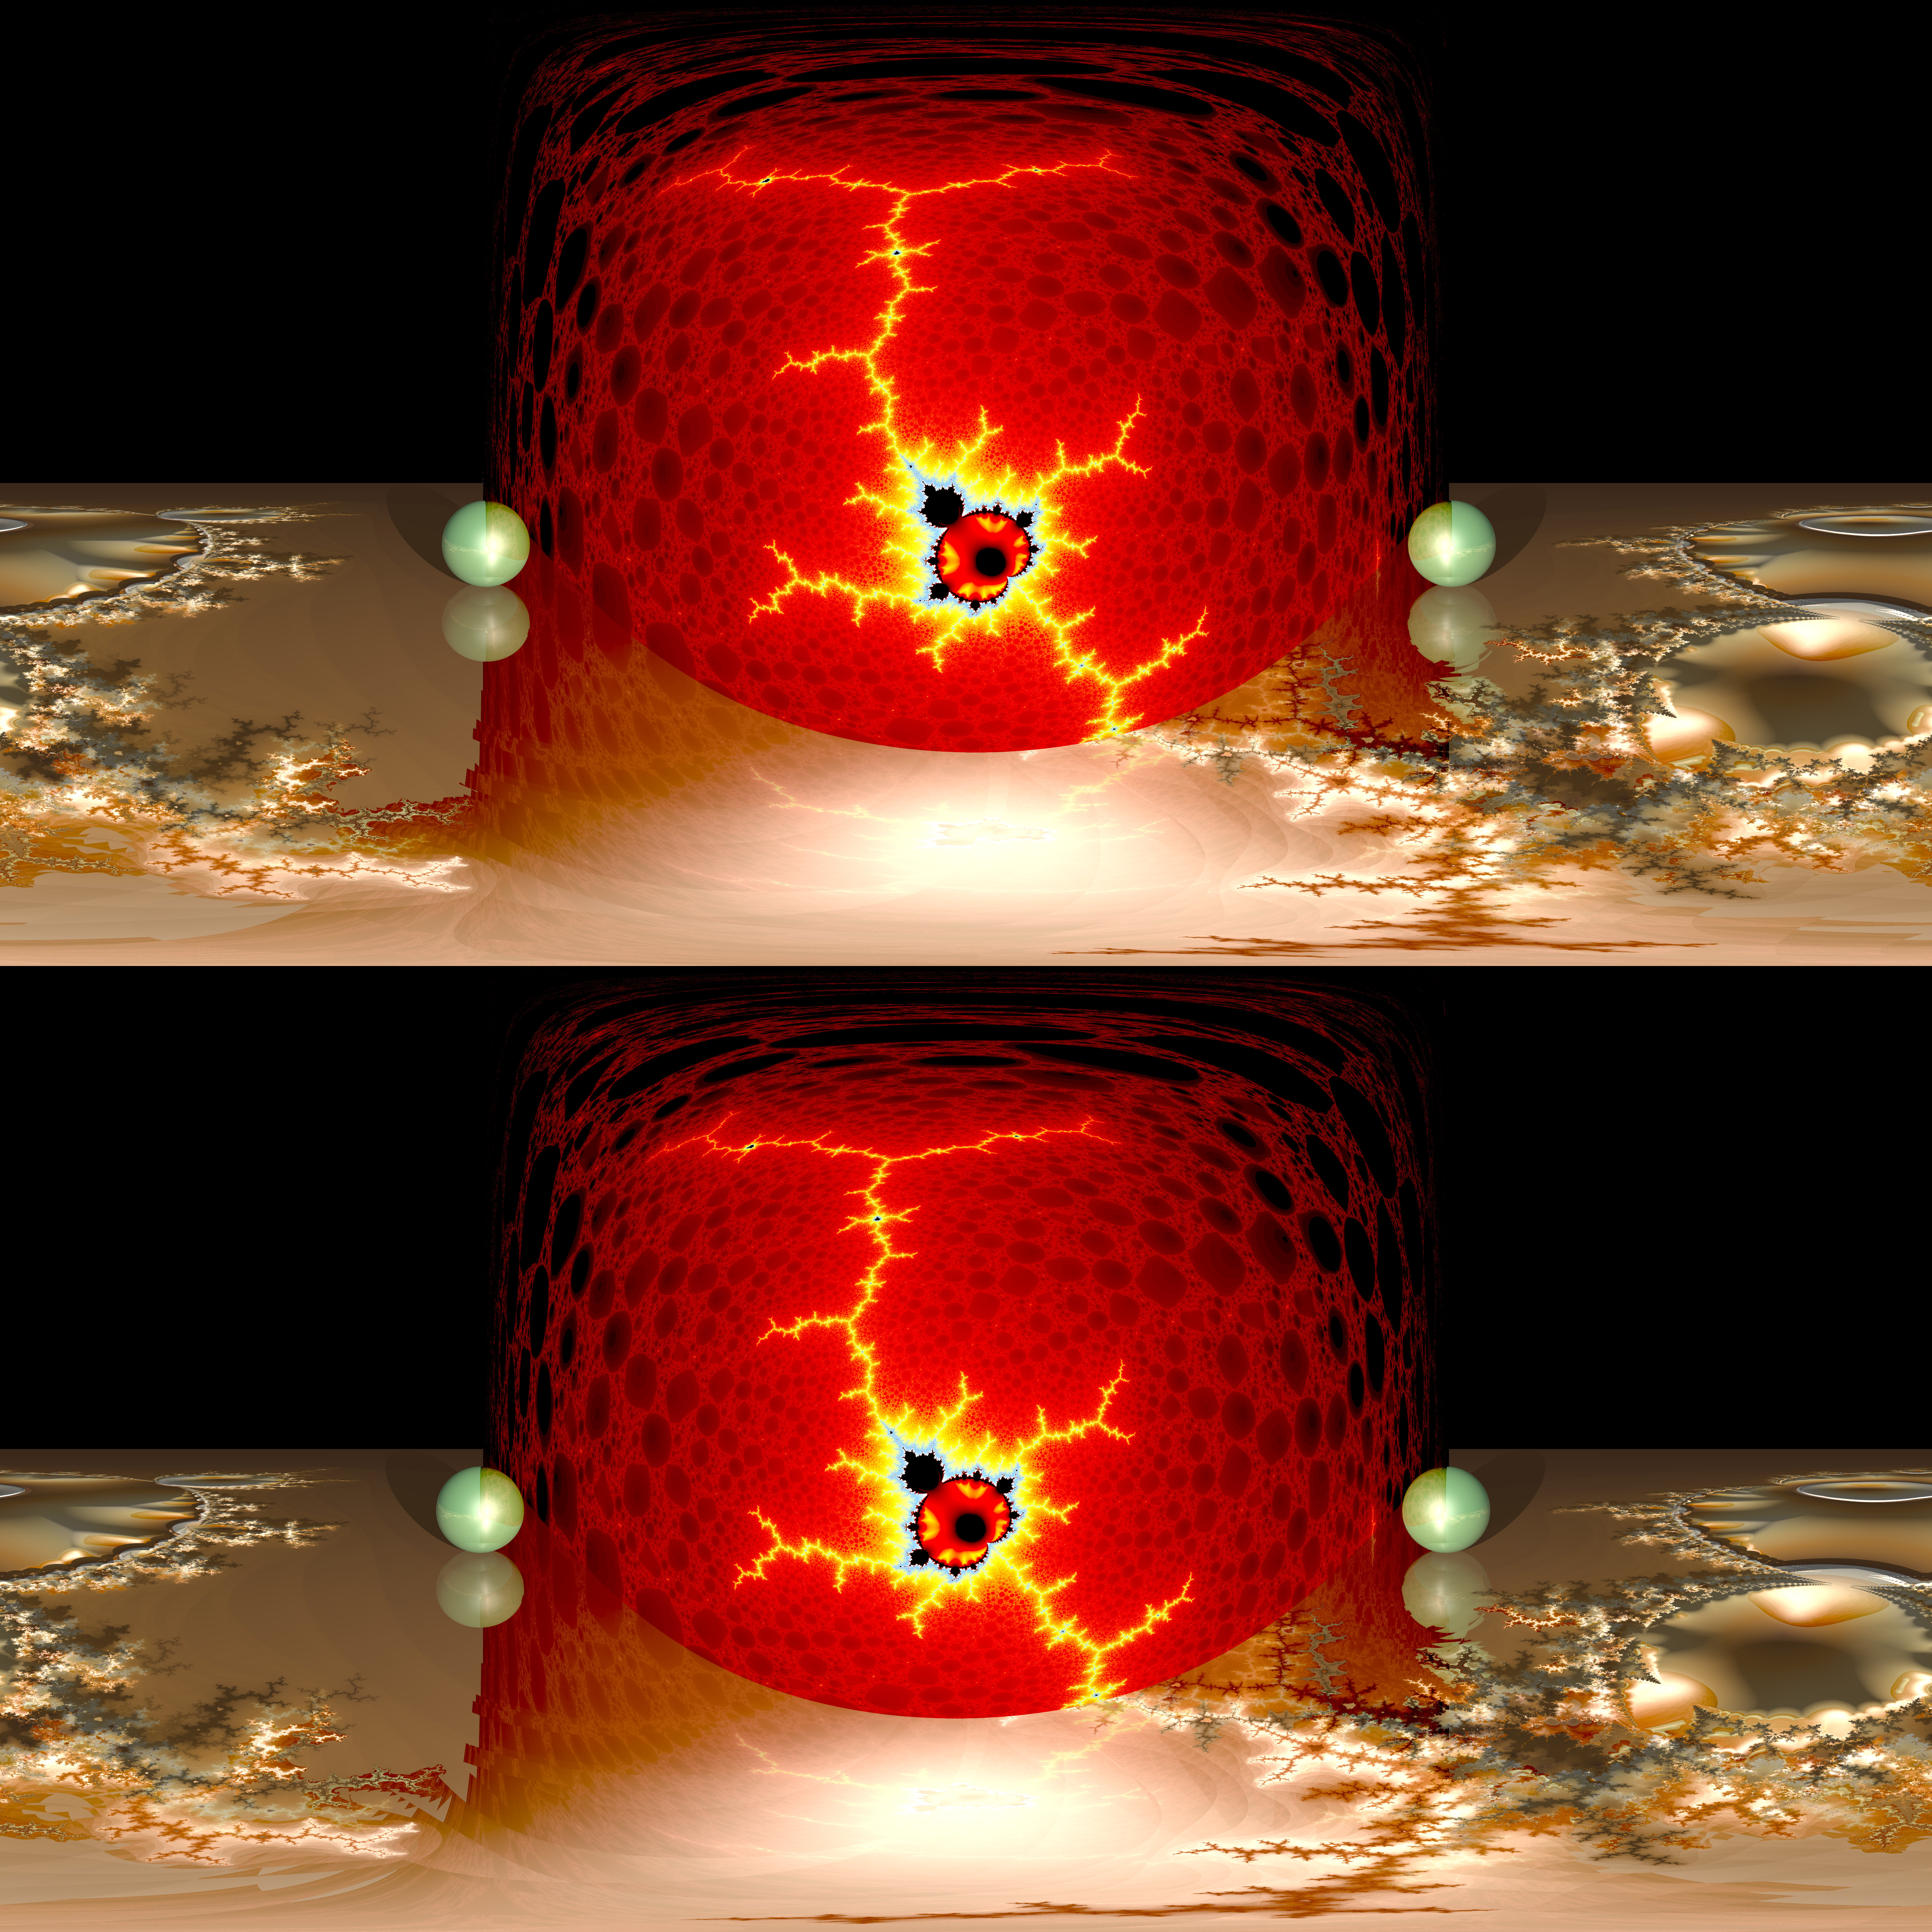
Fractals 2 – POV-Ray sample scene adapted for ODS
——————
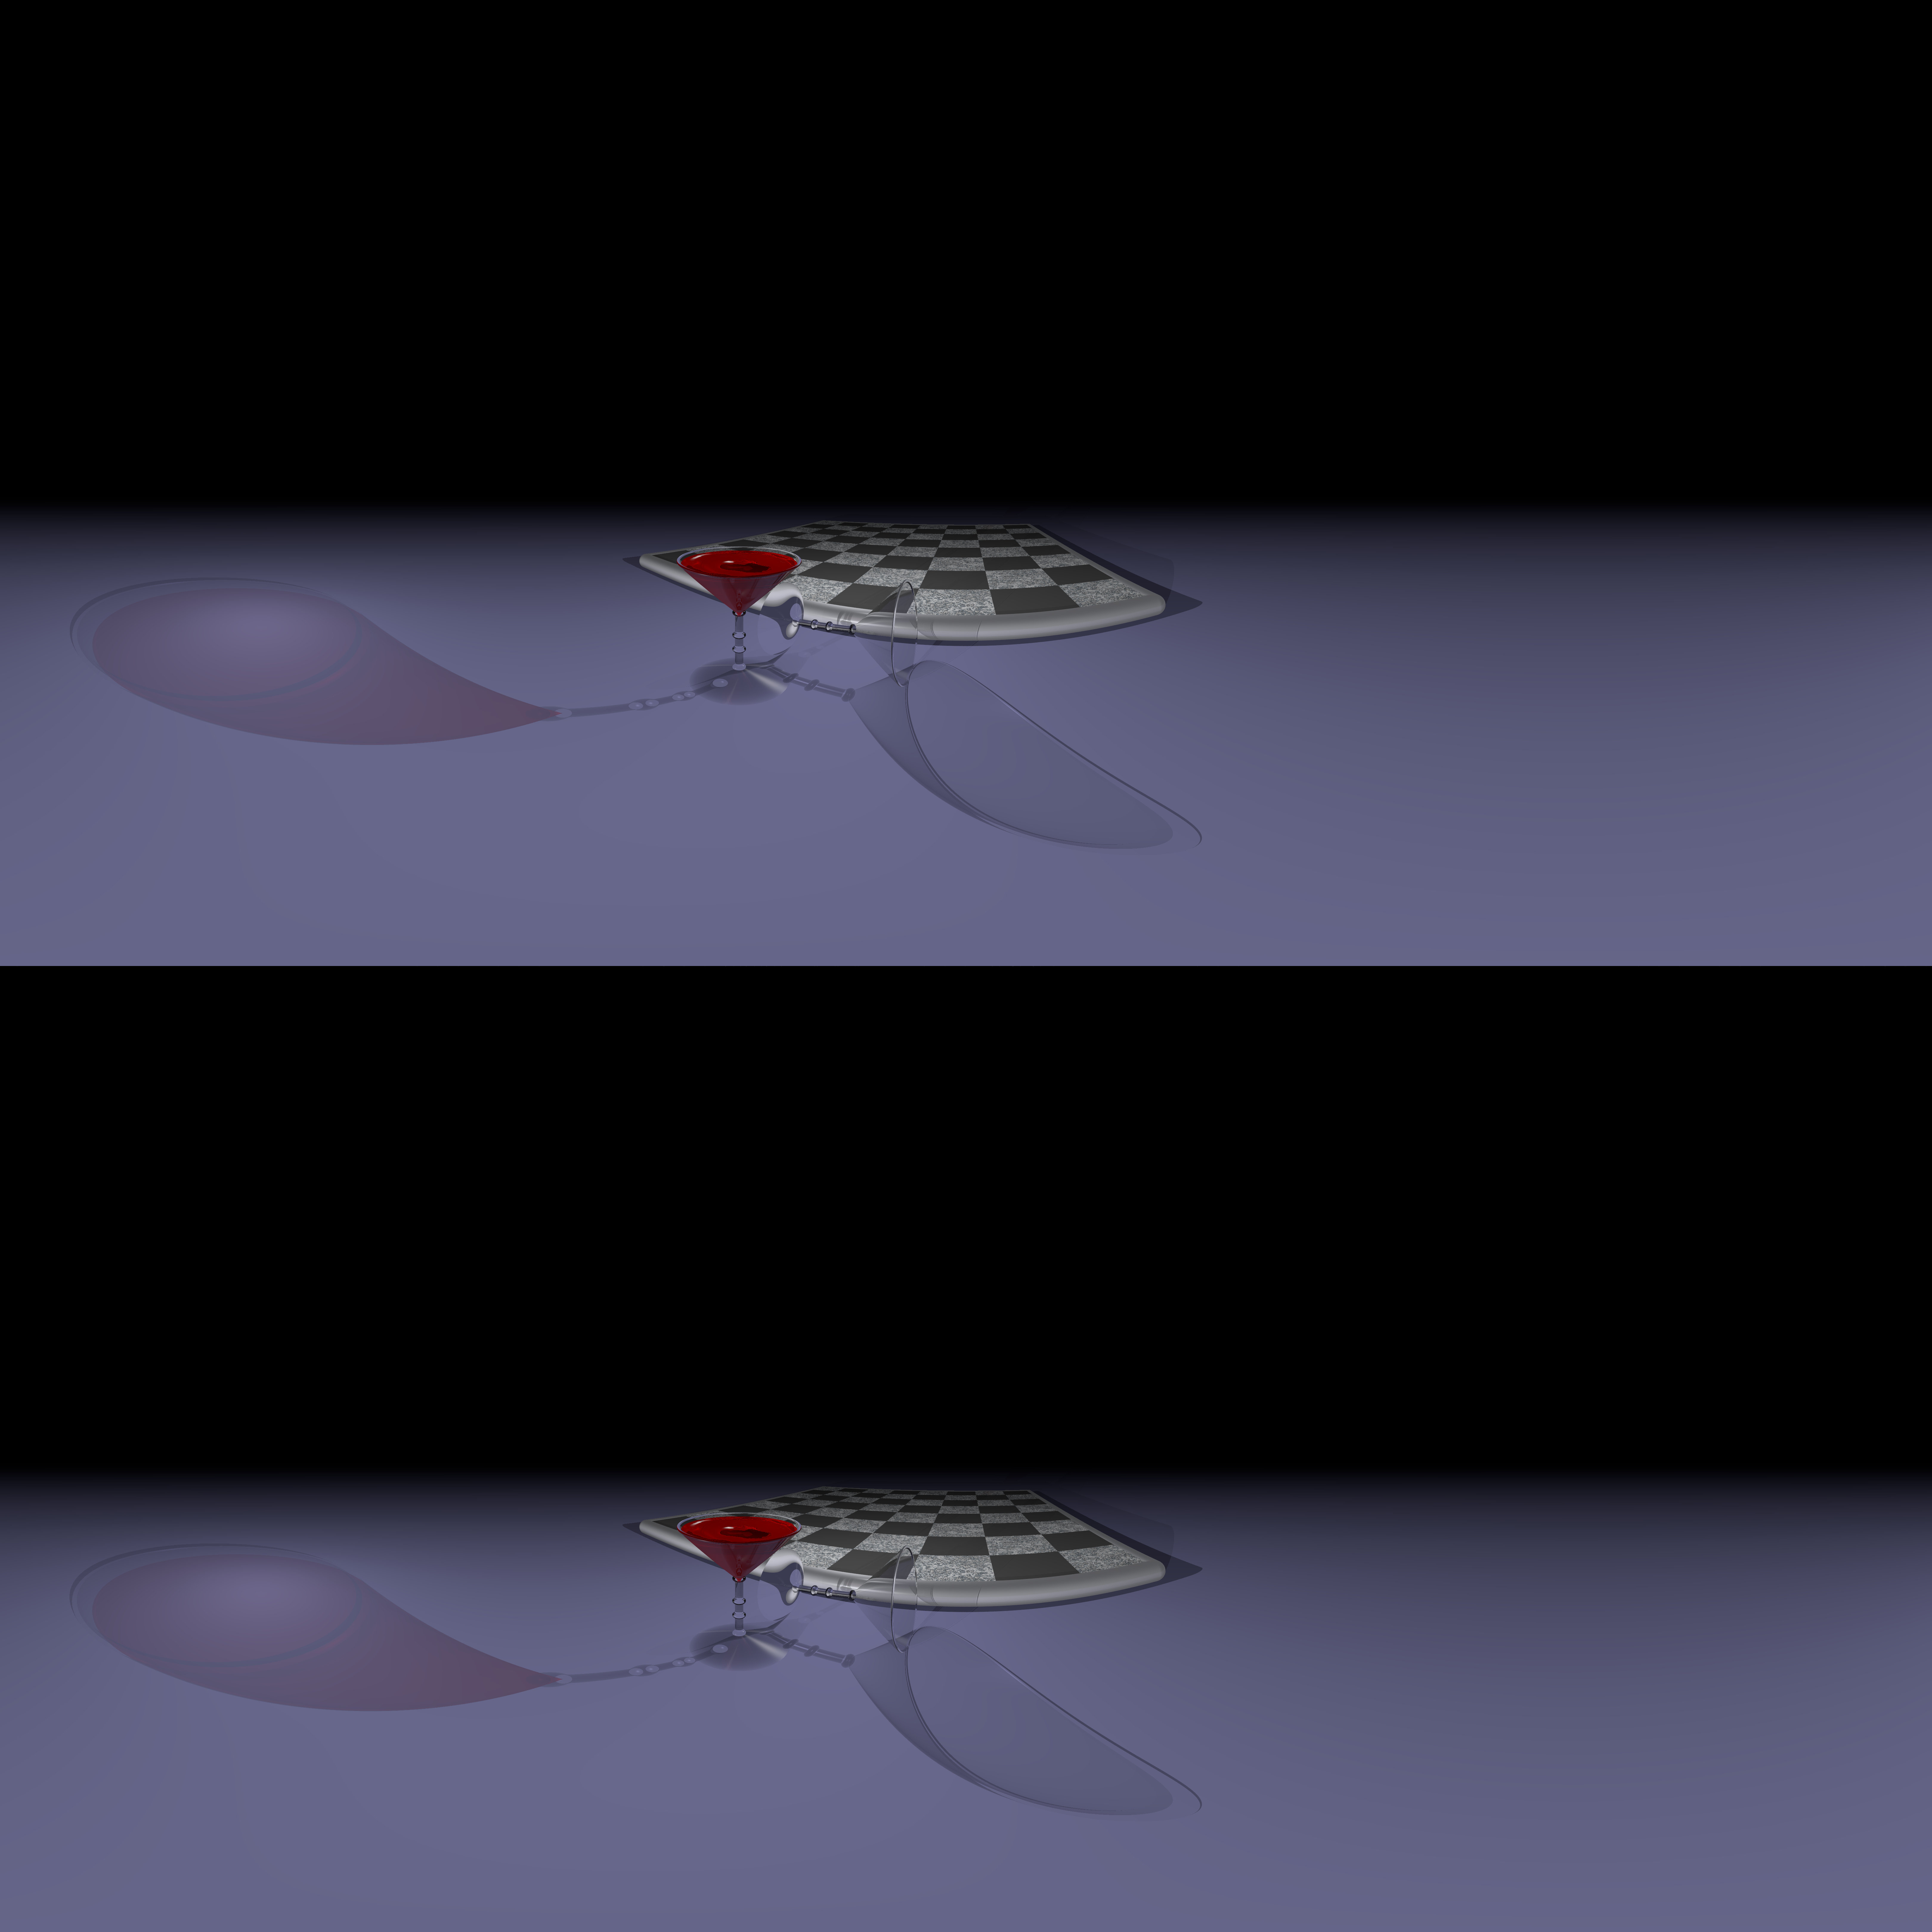
Wineglass – POV-Ray sample scene adapted for ODS
——————
Axis – Test reference

I also rendered a sample video that can be used for stress-testing of VR video players.
QUICKRES.INI
Reference resolutions for POV-Ray quickres.ini
[ODS TB Quick Test - 512 x 512]
Width=512
Height=512
Antialias=Off

[ODS TB Test - 1024 x 1024]
Width=1024
Height=1024
Antialias=Off

[ODS TB Minimum - 3600 x 3600]
Width=3600
Height=3600
Antialias=On
Antialias_Threshold=0.3

[ODS TB High - 6480 x 6480]
Width=6480
Height=6480
Antialias=On
Antialias_Threshold=0.3

[ODS TB Ultra - 12288 x 12288]
Width=12288
Height=12288
Antialias=On
Antialias_Threshold=0.3

[ODS TB 1440p - 2560 x 1440]
Width=2560
Height=1440
Antialias=On
Antialias_Threshold=0.3

[ODS TB UHD-1 2160p - 3840 x 2160]
Width=3840
Height=2160
Antialias=On
Antialias_Threshold=0.3

[ODS TB DCI 4K - 4096 x 2160]
Width=4096
Height=2160
Antialias=On
Antialias_Threshold=0.3

[ODS TB 8K UHD - 7680 x 4320]
Width=7680
Height=4320
Antialias=On
Antialias_Threshold=0.3

[ODS LR Minimum - 7200 x 1800]
Width=7200
Height=1800
Antialias=On
Antialias_Threshold=0.3

[ODS LR High - 12960 x 3240]
Width=12960
Height=3240
Antialias=On
Antialias_Threshold=0.3

[ODS LR Ultra - 24576 x 6144]
Width=24576
Height=6144
Antialias=On
Antialias_Threshold=0.3
[ODS LR Low - 7200 x 1800]
Width=7200
Height=1800
Antialias=On
Antialias_Threshold=0.3

[ODS LR Normal - 12960 x 3240]
Width=12960
Height=3240
Antialias=On
Antialias_Threshold=0.3

[ODS LR High - 24576 x 6144]
Width=24576
Height=6144
Antialias=On
Antialias_Threshold=0.3

[ODS TB Low - 3600 x 3600]
Width=3600
Height=3600
Antialias=On
Antialias_Threshold=0.3

[ODS TB Normal - 6480 x 6480]
Width=6480
Height=6480
Antialias=On
Antialias_Threshold=0.3

[ODS TB High - 12288 x 12288]
Width=12288
Height=12288
Antialias=On
Antialias_Threshold=0.3

[ODS TB YouTube - 3840 x 2160]
Width=3840
Height=2160
Antialias=On
Antialias_Threshold=0.3
Hi,
I found a problem with the ODS code when using heightfields together with radiosity and/or antialiasing. This causes hard crashes of PovRay. Fortunately Chistoph Lipka found the reason and a simple workaround. In the user_defined camera, in the location section the base of the pow() function a abs() must be added to avoid the crashes:
location {
function { odsLocationX + cos(((x+0.5+odsAngle/360)) * 2 * pi – pi)*(odsIPD/2*
pow(abs(sin(select(y, 1-2*(y+0.5), 1-2*y)*pi)), odsVerticalModulation))*select(-y,-1,+1) }
function { odsLocationY }
function { odsLocationZ + sin(((x+0.5+odsAngle/360)) * 2 * pi – pi)*(odsIPD/2*
pow(abs(sin(select(y, 1-2*(y+0.5), 1-2*y)*pi)), odsVerticalModulation))*select(-y,-1,+1) * odsHandedness }
}.
Thanks again to Christoph for the quick help.
Also Thanks to Clodo for the code. It generates impressing VR results.
Stefan
Thank you!
Sorry, i found this comment today in comment spam queue… my apologies. I corrected the code in the post.
It’s nice to see that someone appreciate it 😛
Hi,
Thank you very much for this “howto”! I’ve been using POV-Ray and its predecessor DKB-Trace for like 30 years, and just recently got a VR headset (Oculus Quest). Playing VR games is great, but now I’m looking for ways to create my own VR content. Using POV-Ray for this is very cool!
It’s just a pity you can’t fly or walk through the scenes interactively in realtime (but for that there is A-frame which works pretty well, too).
Best regards
— inof